There are lots of nice tilesets on Internet for game developers. Some resources you see at the end of this blogpost. For your game you probably need tiles from more tilesets or just some tiles from a large tileset. In this tutorial I show you how to prepare your own tileset for game in excellent image editor Gimp.
For my game I need only trees and some ground from nice 32x32 tileset that I found on opengameart.org.
Prepare grid
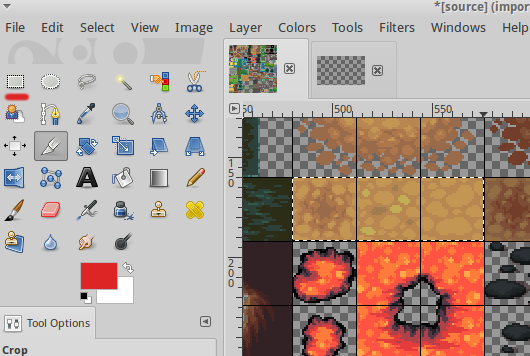
1. Open the source tileset: File > Open
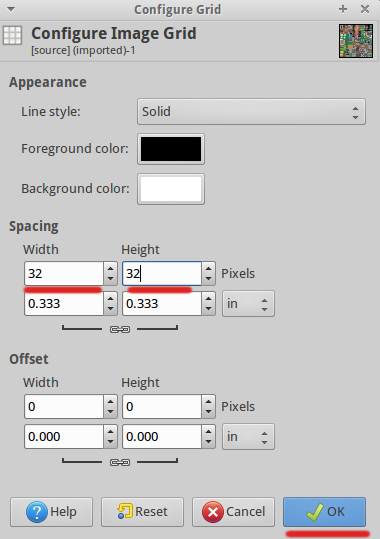
2. Set grid spacing: Image > Configure Grid...
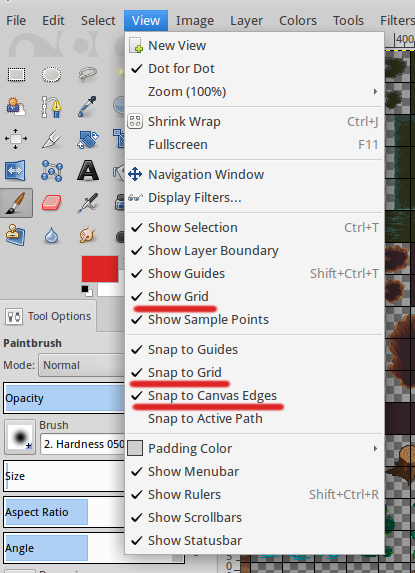
3. Show grid:
View > Show Grid
View > Snap to Grid
View > Snap to Canvas Edges
New tileset
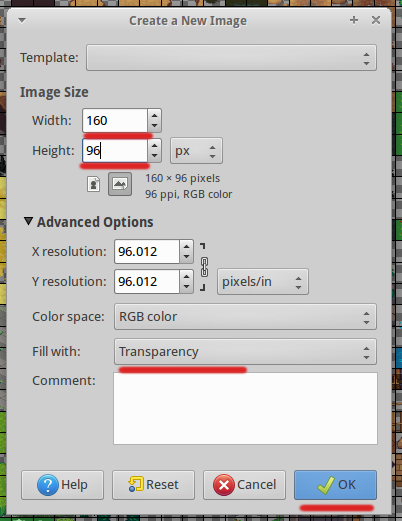
1. Create new Image: File > New
Set size. For width I set 5 * 32, For height I set 3 * 32.
2. Set the same grid property as above.

Copy tiles from source to destination
1. Copy tile to new tileset: Use Rectangle Select Tool and select tile or tiles from source tileset. (I used Zoom Tool too).
2. Copy tile: Edit > Copy
3. Paste tile: Switch to the prepared new image. Edit > Paste
4. Place the tile to grid. Use Move Tool. Because you have previously set Snap to Grid, the tile will be glued to the grid.
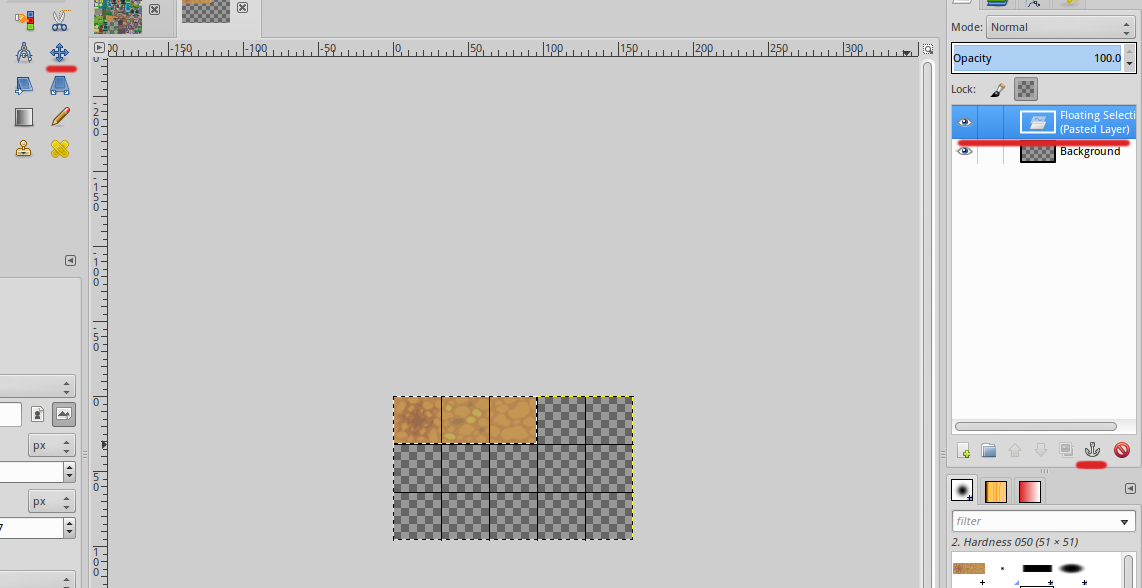
5. Merge layer. After copying the tiles there was a new layer - Pasted layer. Click on the anchor icon to merge layers into one. (See image above.)
6. Add more tiles with the same procedure.
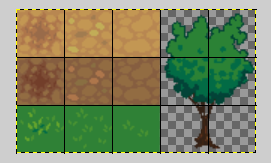
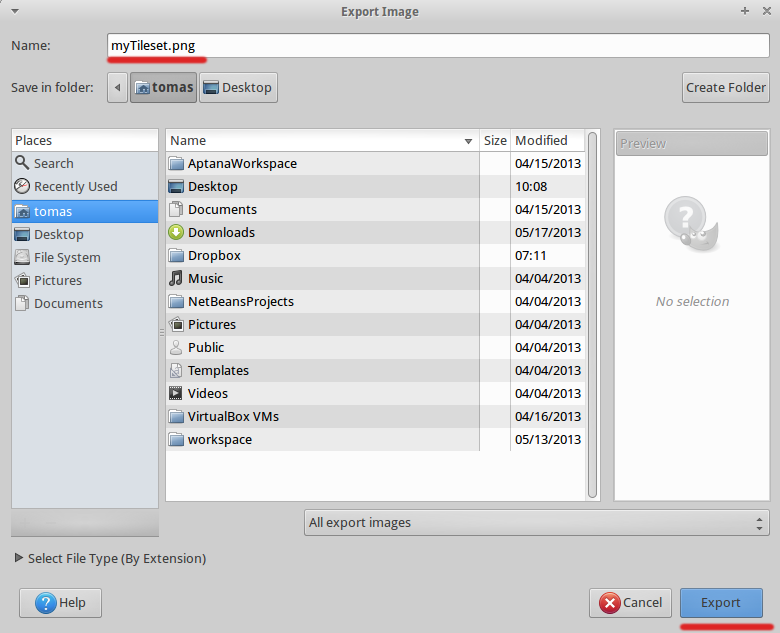
7. Save your new tileset as PNG.
Gimp 2.6: File > Save As
Gimp 2.8: File > Export